|
Ocean/Beach/Aqua Theme Vanity Redo  My Grandma from South Carolina was staying with my family for over a year and so we decided to redo the guest room for her with a beach like feel! I was in charge of redoing this very old vanity!  It has drawers....and hardware....I just got so excited I went right to taking it apart and on to sanding before I remembered I needed a before picture and I was too lazy to put it all back together...sorry :( Also for a heads up sorry for the lack of pictures, but I will try my best to explain how I did it! The pictures may not be the best due to very poor lighting. PREP First I took the drawers out, mirror off, and hardware off and began sanding with an electric sander. This vanity was painted an antique white and for some reason was very bumpy so I had to sand A LOT to get to the smoothness I wanted. Then used a wet clean white rag and cleaned off the dust, then let it dry. Next I cleaned off the hardware to get them ready to be painted. Now, paint time.... I used a metallic spray paint to cover the gold hardware. Continued to layer the paint until I got the coverage I wanted. Once that was dry I then went over it with my Valspar antiquing glaze in grey that I had left over from the kitchen table redo. Once I got the look I wanted and let it dry, I then used a water base sealant since handles get a lot of use. Below is the after and the glaze I used.
I have yet to get a paint sprayer, which would have made all of this easier...and faster.....so I used brushes. I used two different colors. For the base I used the highest gloss of Aquamarine and for the darker highlights I used a pearl Bahamian blue left over from my kitchen table redo. I did not use a sealant. After my table redo, I was told never to do that because no matter what kind you use it will always, one day, turn colors. So we will see how this holds up because my kitchen table turned colors even though I let it dry and used a water base sealer. So I started with a Primer and did 2 coats, sanding between to get a perfect smooth surface. Then I did 3 coats of the Aquamarine, sanding between coats, not sanding the last layer. Next I added some Floetrol (picture below) to the Bahamian blue. This helps the paint not dry so fast and helps prevent brush strokes showing. You can also use this in the base paint if you would like. Since I was applying the Bahamian blue like you would a glaze, I needed a way for it to not dry so fast, and that is what I came up with, and it worked perfectly!
After that all dried I then decided to add the Valspar Glaze to the detail work on the vanity. I used a very tiny paint brush for this. I did a couple layers until it was dark enough for me. Once all was dry I put the drawers back in and added the hardware and BAM! What a beauty. I will have to post pictures of the whole room at some point. We were able to find a bed headboard that matches PERFECT with this hardware, and it was super cheap! Bonus!  I decided not to add the mirror back on, due to it being old and needing replaced. So, once I get the mirror thing figured out, I'll post an updated picture!  To add some beach-ness to it, I added vases and added sand from different beaches we have been too to hold the candles. Well, there is it! I just love how it turned out! It works perfect in this grey walled, beach themed room! Hopefully I can get some better pictures of it one day, these just don't do it justice! 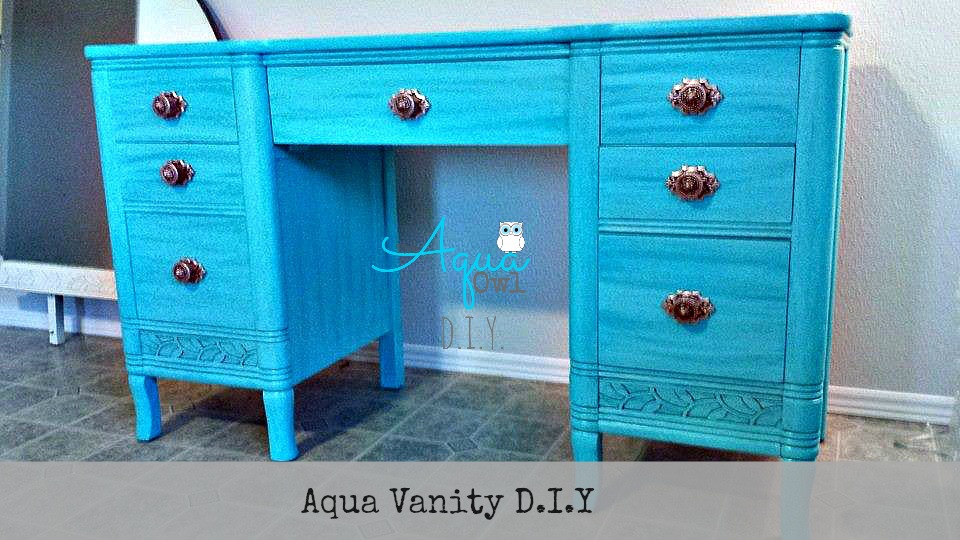
0 Comments
|
Archives
February 2015
Categories
All

|


 RSS Feed
