|
For our wedding we got a LOT of plain black picture frames and had no money to put pictures in...haha. So I went on pinterest to try and find some other use for them and loved the idea of making it into a tray! List of items I used 1. Black picture frame with glass 2. Piece of fabric cut to the size of the glass  So basically all I did was put it all together and this happened....  I decided to put it on my bed side table since I have a habit of leaving water and food by my bed....We all do it ok....But yeah this way I don't leave water rings on my furniture! Also its a good place to put your bobby pins when you take them out in bed and are too lazy to put them where they are actually suppose to go.....  What I love about this is that when I get bored of my decor (which is more often then I'd like to admit) I can just change the fabric, which is about the size of those scrap pieces of fabric they sell for quilting I guess at the store, so not pricey, and you can paint the frame if it came down to it.
0 Comments
This dresser was for my mom and, in my mom's words, "JUNK and a waste of money" And yes it had pieces of the wood missing in the corners and markers all over it and scratches and so much more but I took it as a challenge and I think it turned out great! It took a lot of work and I had to rebuild parts of it. Also I had to leave town before I could finish it for my parents so my mom went at it all ticked off (she is an angry painter and has zero patience for projects) and so that is why some drawers are darker then others because she went crazy on the antiquing glaze. We used the cheap walmart brand paint in candy apple red. I did not like the application of it, you can tell it was cheaper. but after about 2 coats of primer, and 3 coats of red, antiquing glaze and the gloss polyurethane(which I know not to use now...) and replacing the old gold hardware, I looked great! 
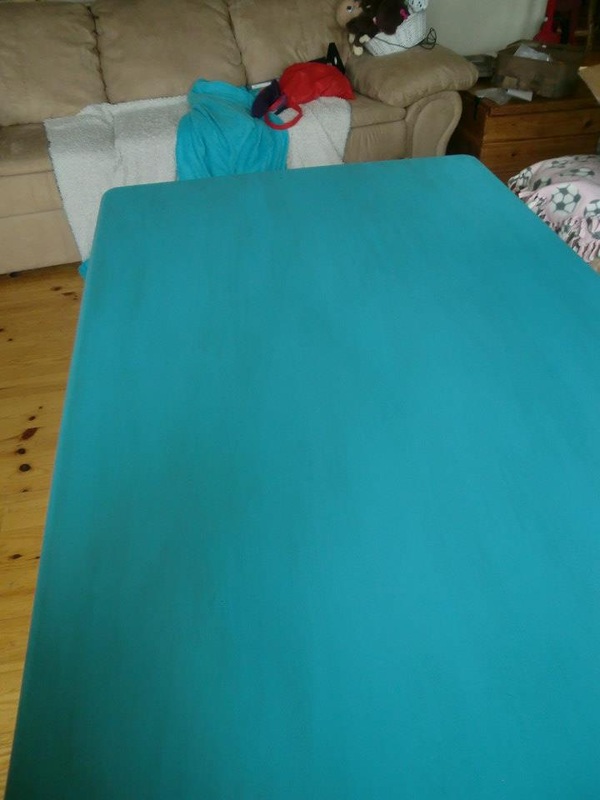
Here is the farm house table Redo. It started out as just a basic unfurnished wood table. I primed it twice and put 3 coats of paint. Then I antiqued it with antiquing glaze. Then I put a water base polyurethane on it, which I was told is not suppose to yellow over time like the oil base, BUT a few weeks ago I was doing another project to where I asked an experiences painter and they pointed out that ANY water base or oil base will yellow. Which makes sense as to why after I finished this project it turned into a more blue green color from the yellowing of the polyurethane...oh well it still looks good, just not as blue as you would think. I used behr paint in Bahamanian blue satin. So for the other painting projects I use the gloss paint now and do not polyurethane. And I should probably wax it. 

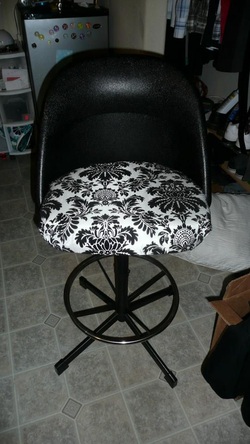 So I am REALLY bad at remembering to take before pictures of all the projects I do...but despite that I'll be posting some that I finished. Here is my first tackle. This chair my husband got me from DI to use for a vanity dresser I had. It was ugly...70's style the framing was basically a poop brown and it had brown faux leather for the cushion. But it was comfy and worked perfect. So I went and got some spray paint, the fabric, and new padding. This was my very first project so there are some things I would have done different, like use a primer first haha. I had a hard time figuring out how to get the fabric tight and such, now I know an easier rout but hey, it still turned out good. Looks a lot better then it did before! I found this image online, these are pretty close to what it looked like before. 
|
Archives
February 2015
Categories
All

|

 RSS Feed
